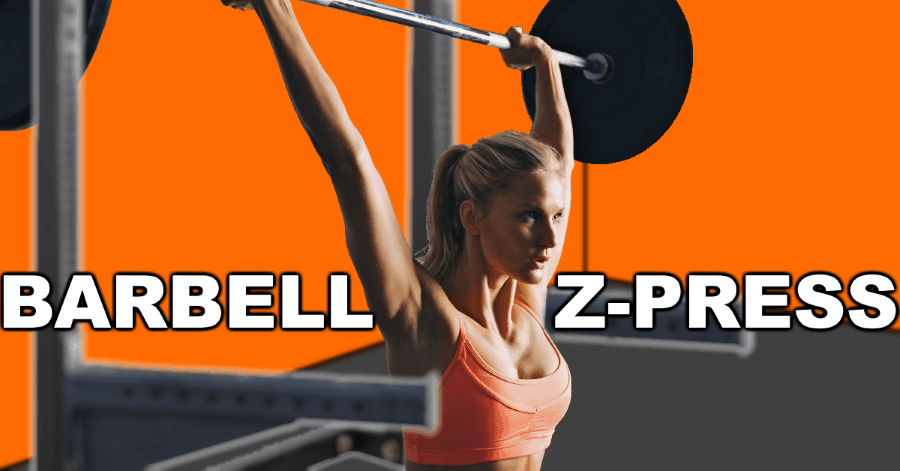
Exercise Name | Barbell Z-Press |
Also Called | Big Z Press, Zydrunas Press, Savickas Press |
Primary Muscles | |
Secondary Muscles | |
Function | Strength |
Mechanics | Compound |
Force | Push |
Required Equipment | |
Optional Equipment | |
Experience | Intermediate |
Rep Range | 3-10 |
0-0-x-1 | |
Variations | Seated on Bench, One Arm Z Press, Dumbbell Z Press |
Alternatives | Military Press, Push Press, Bradford Press |
Instructions with Pictures
1. Starting Position

Start with the bar resting on the spotters, but create tension into the bar by making your core tight and rigid. Source for this and the following images: The Hungarian Experiment

Here is the side view of the starting position. Note the elbows are directly under the wrists.
2. Concentric Movement

Just after initiating the concentric -- Note the elbows are relatively "tucked" in.

Side view of the Z-Press right after starting the concentric phase.

After the bar passes the head, you can begin to flare the elbows out as shown.

Flaring elbows after bar rises past head, shown from the side. Note that the head is also starting to come forward.

Full lockout shown from the front view. Elbows are locked and facing outward. Head is protracted forward to allow for this shoulder position.

Side view of the lockout. This shot really shows the proper head and shoulder position at the top of the rep.
3. Midpoint
4. Eccentric Movement

As you begin lowering the weight, your elbows should still be flared before getting to you head as shown.

Initial portion of the eccentric phase shown from the side.

Elbows tucked and head retracted as bar is lowered down in front of the face.

This side view highlights how the head must be fully retracted to allow the bar to pass safely in front of the face.

As shown, you are back at the starting point upon completion of the eccentric phase of the rep. Note the bar is set down and allowed to come to a halt on the spotters.

Ending (and starting) position shown from the side. Note how the head has come forward somewhat after the bar has passed the face.
5. Repeat
Common Barbell Z-Press Errors to Avoid
Mistake: | Solution: |
|---|---|
Bouncing off the Safety Pins | Return the bar to the safeties and be sure the bar as completely settled before moving on to the next rep. |
Extending the back | Actively brace the core by forcing the hips into a posterior pelvic tilt. This will ensure the shoulder and its mobility is doing the brunt of the work. It will also limit unnecessary extension. |
Pressing Away from the Body/Pressing in Front of the Body | Be sure to flare the elbows hard once the bar passes the head. Also protract the head forward at this point to keep the bar over the shoulder capsules. |
Soft Lock Out/Incomplete Extension | At the lock out, try to imagine “pulling the bar in half.” This will set the shoulder further back and down in the capsule and create a more stable lockout. |
Barbell Z-Press Tips
- Think SPEED. The bar is starting from a dead stop. You must generate as much force as you can in as short a time as possible.
- Actively squeeze the bar as tight as you can throughout the lift and imagine trying to “pull the bar in half” at the lockout.
- Keep the core actively braced and tilt the hips under your torso the keep trunk hyperextension to a minimum.
- Don't forget to flare the elbows and protract the head once the bar clears your body on the concentric phase. Similarly, tuck the elbows and retract the head during the eccentric phase.
Is the Barbell Z-Press Right for You?
The Barbell Z Press is a brutally humbling exercise. Even very strong, experienced pressers will struggle. Make sure you have excellent core stability, shoulder mobility, and hamstring flexibility before attempting this lift.


